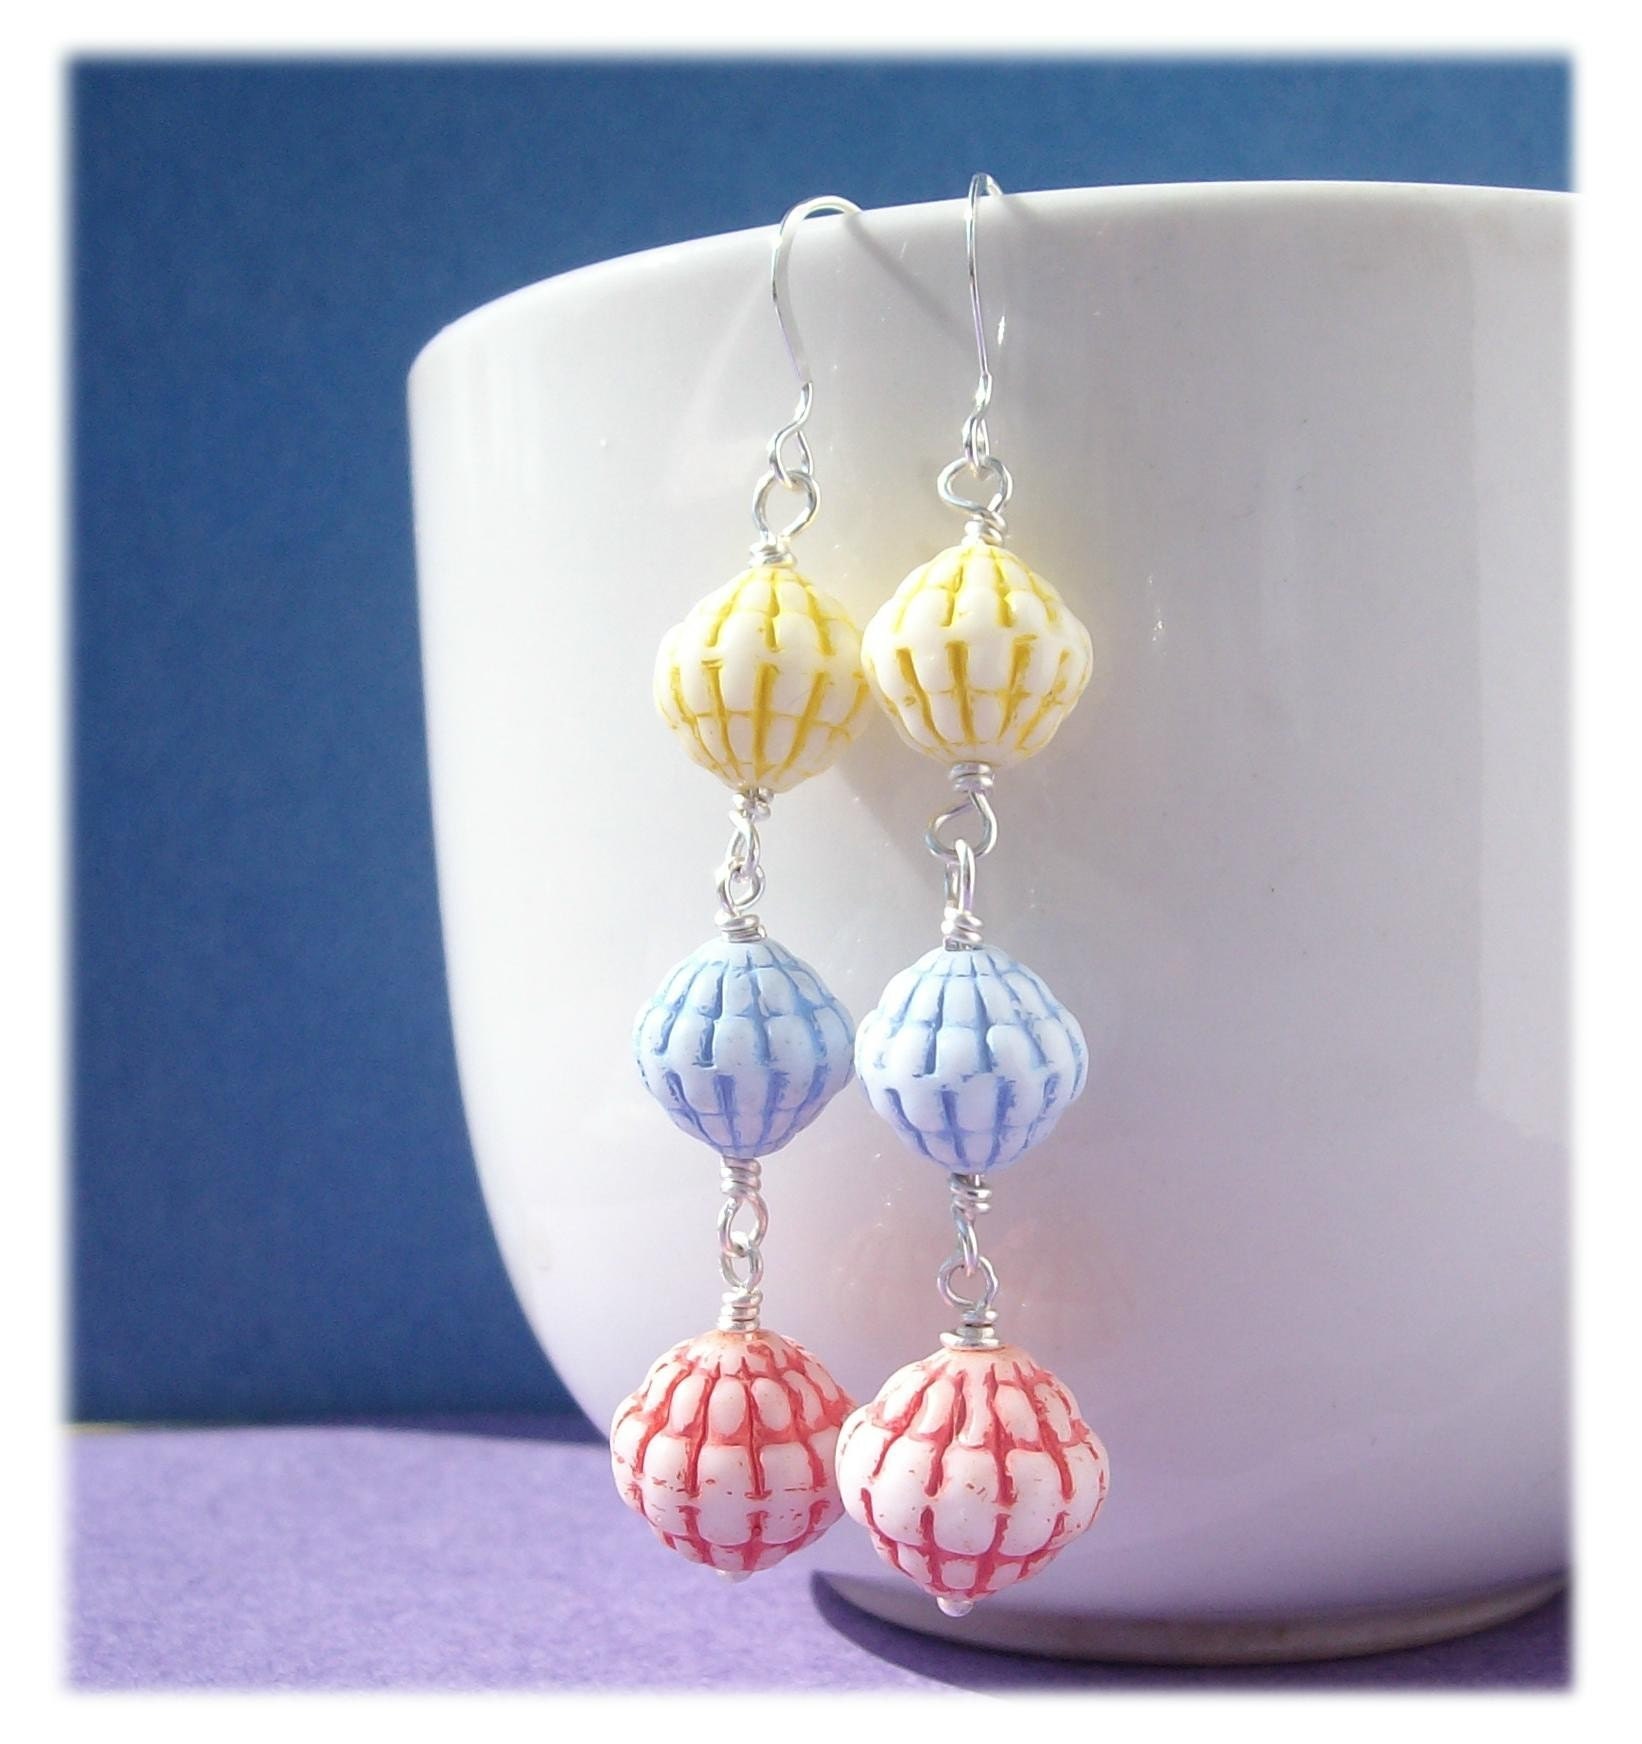
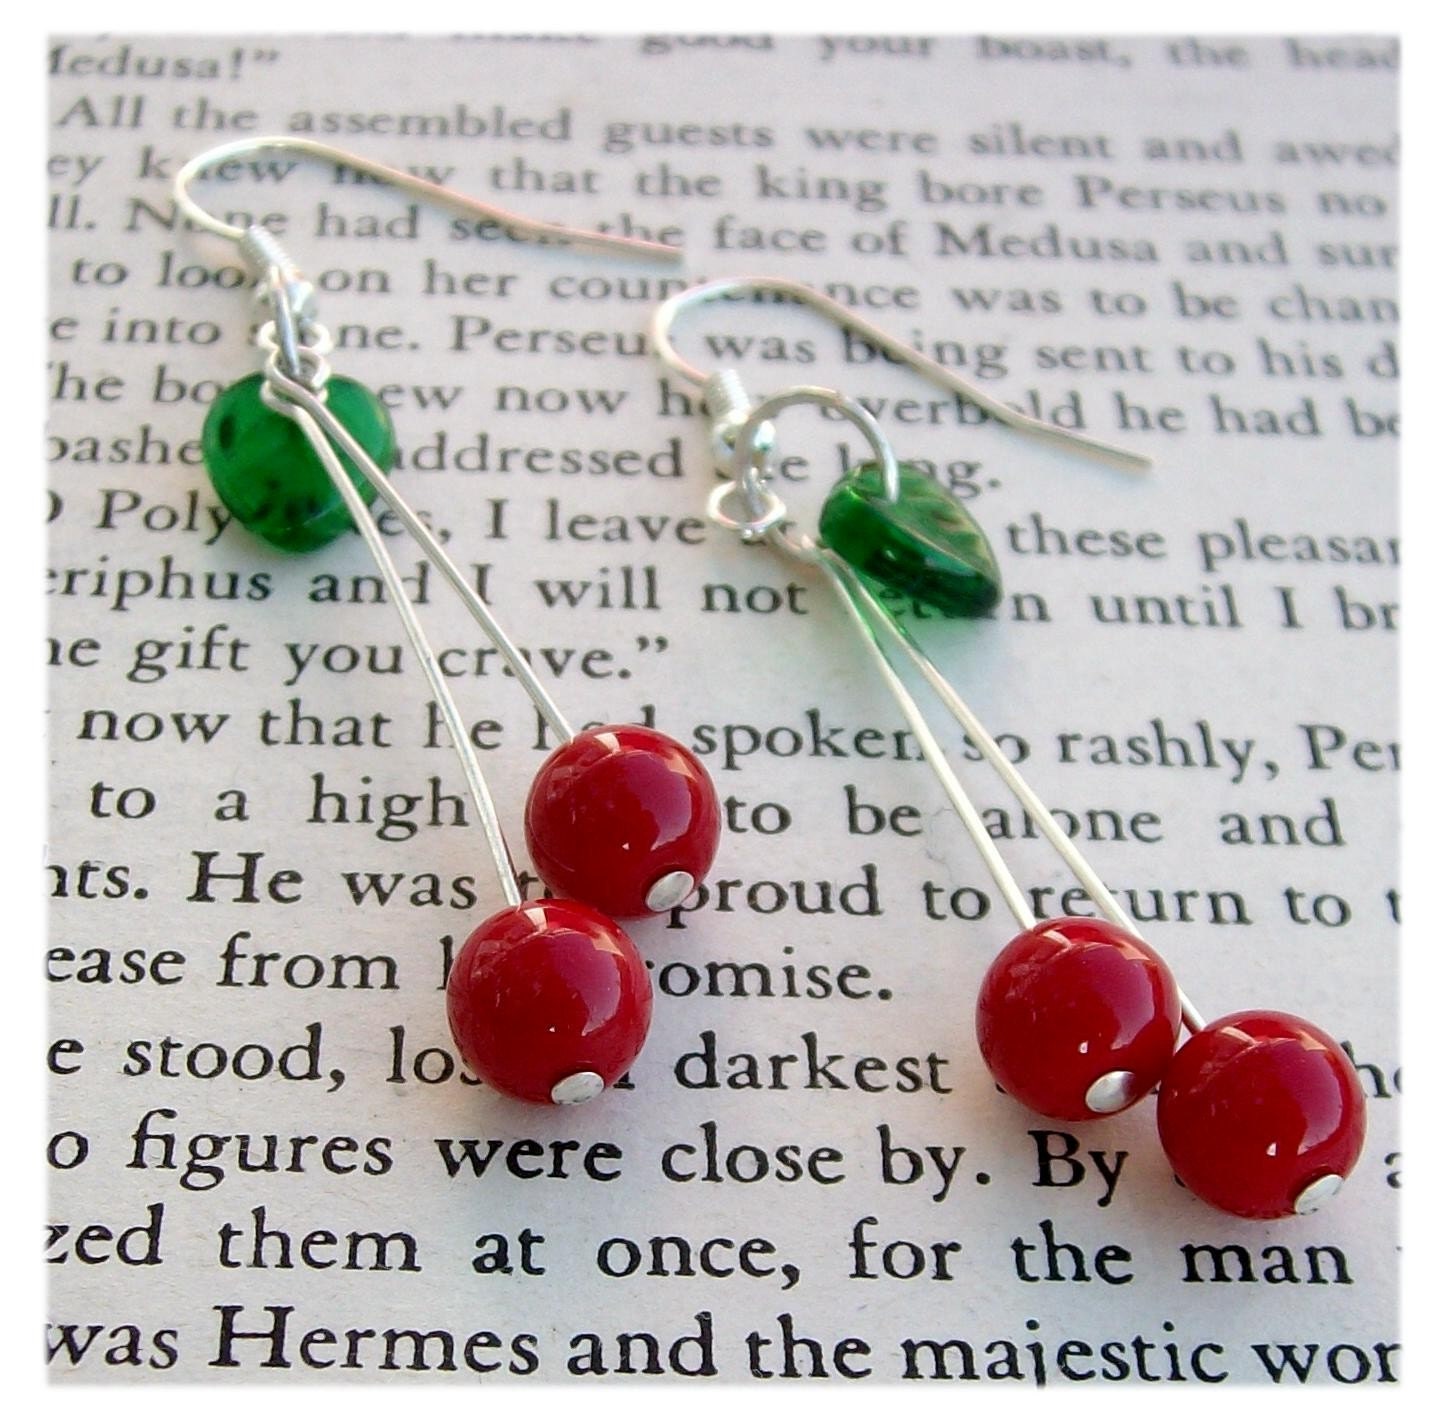
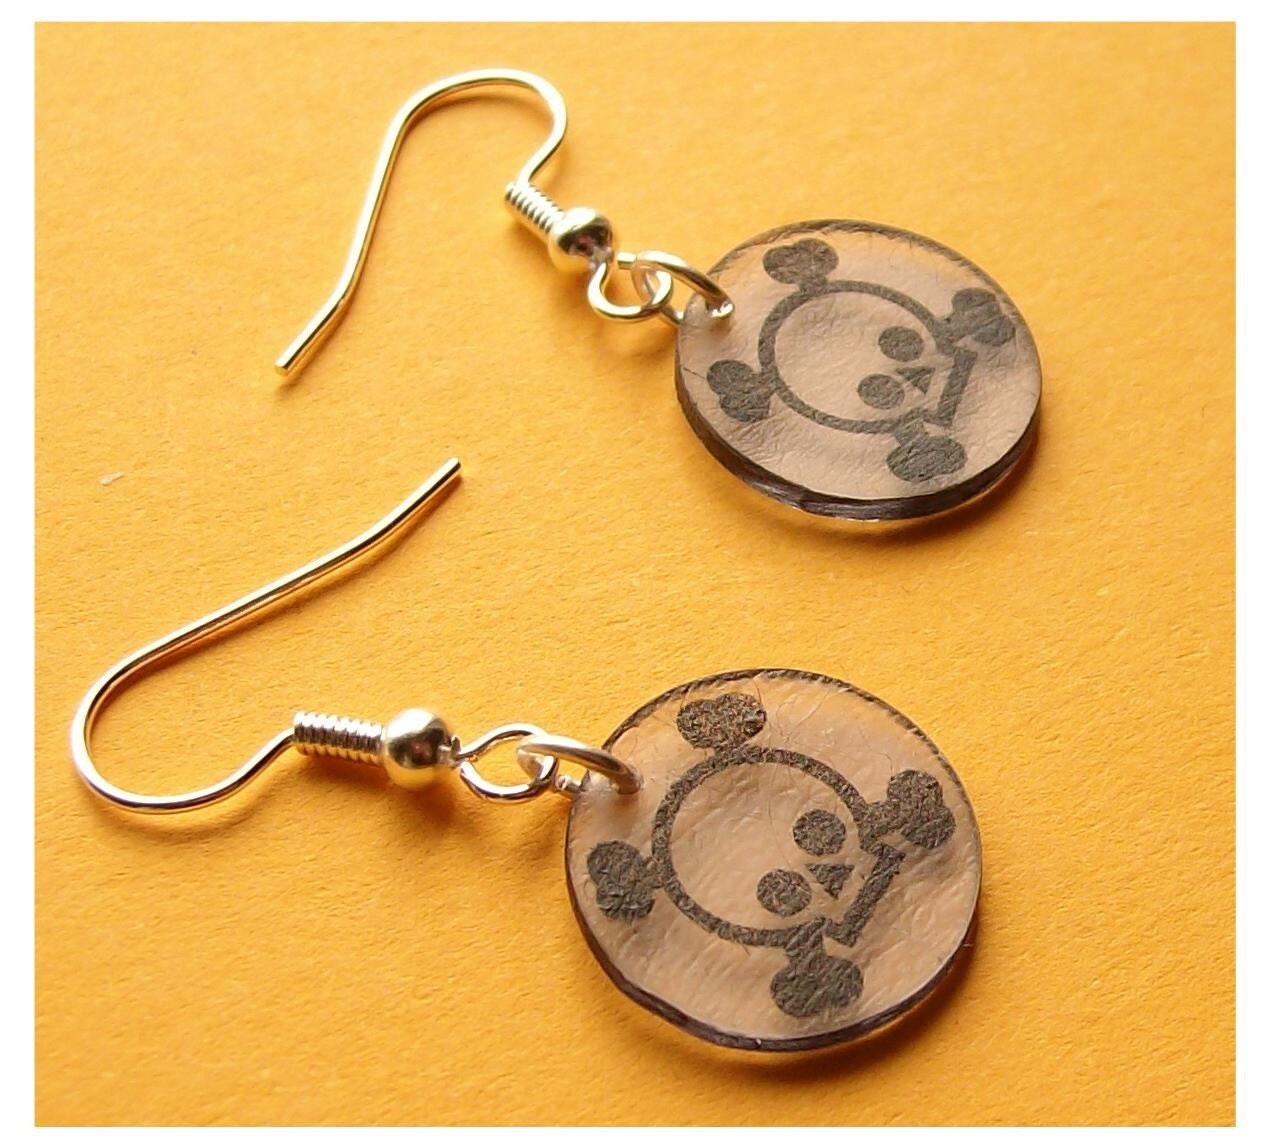
Pictures are the bane of many sellers listing process. Finding the right background color, the right amount of light, and keeping it all organized can be quite a chore.
Frustrated with other light box tutorials that left me with washed out pictures and a big box to store, I wandered around the dollar store one afternoon and found the perfect solution to my needs.
The dollar price included the following;
- 1 20 inch X 30 inch Piece of White Foam Board ( Office Supplies)
- 1 Adjustable Utility Blade ( Hardware)
- 1 Roll Packaging Tape ( Office Supplies)
- 1 Yard Stick (Office Supplies)
- I Package Assorted Color Construction Paper (Toys or Office Supplies)
MAKE THE BOX
- Measure and cut the foam board along the 30 inch side. I cut mine 7 inches into the board, so i had a 7 by 30 inch rectangle of foam board. I used the adjustable utility blade and the yard stick.
- Cut a 7 by 7 inch square off the end of the rectangle you just cut ( or the amount equal to the width of your cut rectangle) This will be the bottom of your studio. Cut the remaining rectangle to 14 inches long 7 inches wide.
- This next part is tricky. you need to adjust your blade to just a bit LESS than the thickness of your foam board. Mine is 1/4 inch, so I made the blade depth just less than 1/4 inch. Next measure in 7 inches on the foam board ( so it's split in half) and cut the board, being careful not to cut ONE side of paper on the board. You now have a "V" of 2 attached 7 inch foam board squares.

- You MIGHT need an extra set of hands for this part. I was able to do it myself, but my tape looks icky. Thank goodness it's on the part of the box you don't see. Cut and attach two 7 inch pieces of packaging tape to the bottom square. Try to make them centered as best you can, so half of the edge is left out. Now, carefully bend the 2 attached squares to a 90 degree angle and set them on the bottom. carefully fold the tape up to secure the "sides" to the bottom.

DONE!
BACKGROUNDS
Using the utility blade and yard stick, cut one of each color of construction paper into 7 by 7 inch squares. i like to do 3 of each color so I can "line" the box with color if I need to take a picture of a larger item.
You're done! To store it, set the paper squares inside the box and set it come place out of the way.
To use it, take it to a sunny window, a well lit part of your house, or even outside. lay out the pieces of paper that compliment your item, stage the shot, and photograph.
Voila!
A perfect place to take the perfect picture.
Using the utility blade and yard stick, cut one of each color of construction paper into 7 by 7 inch squares. i like to do 3 of each color so I can "line" the box with color if I need to take a picture of a larger item.

You're done! To store it, set the paper squares inside the box and set it come place out of the way.
To use it, take it to a sunny window, a well lit part of your house, or even outside. lay out the pieces of paper that compliment your item, stage the shot, and photograph.
Voila!
A perfect place to take the perfect picture.




 Posts
Posts